

Learn: How to be an accessible facilitator
Author: Adam Tweed;
Reading Time: 5 minutes
We've made this resource open. You are free to copy and adapt it. Read the terms.
If you would like more help with your digital challenge, book a free session with DigiCymru.
1. Housekeeping
When creating a presentation, add an Accessibility placeholder slide within your deck that references the following:
- Facilitators should allow participants to contribute either verbally or through text
- Provide information on task expectations/Consider providing clarity on what is ‘enough’
- Offer mixed methods of input
- Allow for at least a 5 min break for every 1hr of sessions
- All sessions should be recorded and made available to participants
- Outline your agenda at start of meeting
- Outline types of session interactivity. e.g. you will need to read, talk and type
- Facilitators should offer the options at start of session that participants can opt in or out of depending on their needs
2. Clear and clean presentations
Design is important in accessibility. Avoid having watermarks (logo, stamp, or signature) on the majority of your slides (all slides) and have clear text to reduce visual distractions
3. Checklist for facilitators
As the facilitators, your role is important in creating an inclusive and welcoming learning environment. The following pointers should be helpful when facilitating:
- Try and make sure that you’re in the centre of the video screen
- Ensure that you’re in a well-lit room
- Make sure you’ve tested your video
- Check if everyone can hear and see the facilitator and hosts clearly
- Internet is key. So try and check your internet connection ahead of time
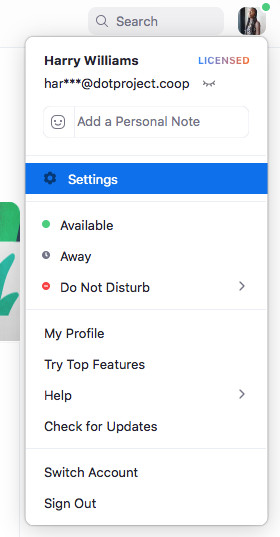
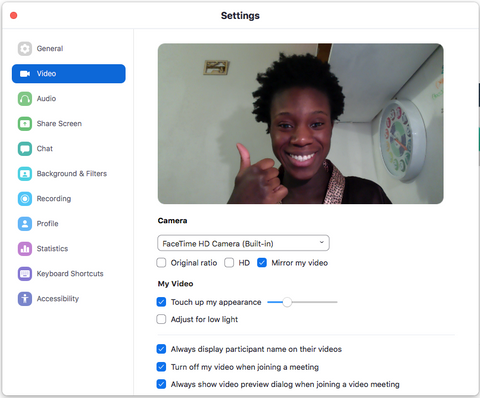
Test your video
1. Sign in to Zoom
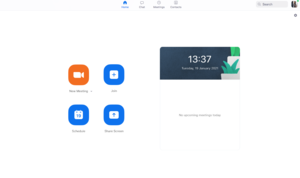
2. Click on your profile picture
3. Click on the ‘Settings’ tab
4. Click on ‘Video’
5. You will see a preview!
4. Add descriptions to images
Images can help people absorb the material particularly if there are multiple images which can help explain complex issues.
Images can also be important for people with slow internet speeds, mental health challenges and those with disabilities (including learning).
Images should be accompanied by text, as reading a description of an image can give people the same opportunity as if they could see the image.
Example

Less descriptive image description: An image of a monkey
More descriptive image description: A clip art image of a brown coloured monkey, that is swinging from a green branch with its left hand and holding a bunch of bananas in its right hand. The monkey has its eyes closed and a slight smile on its face.
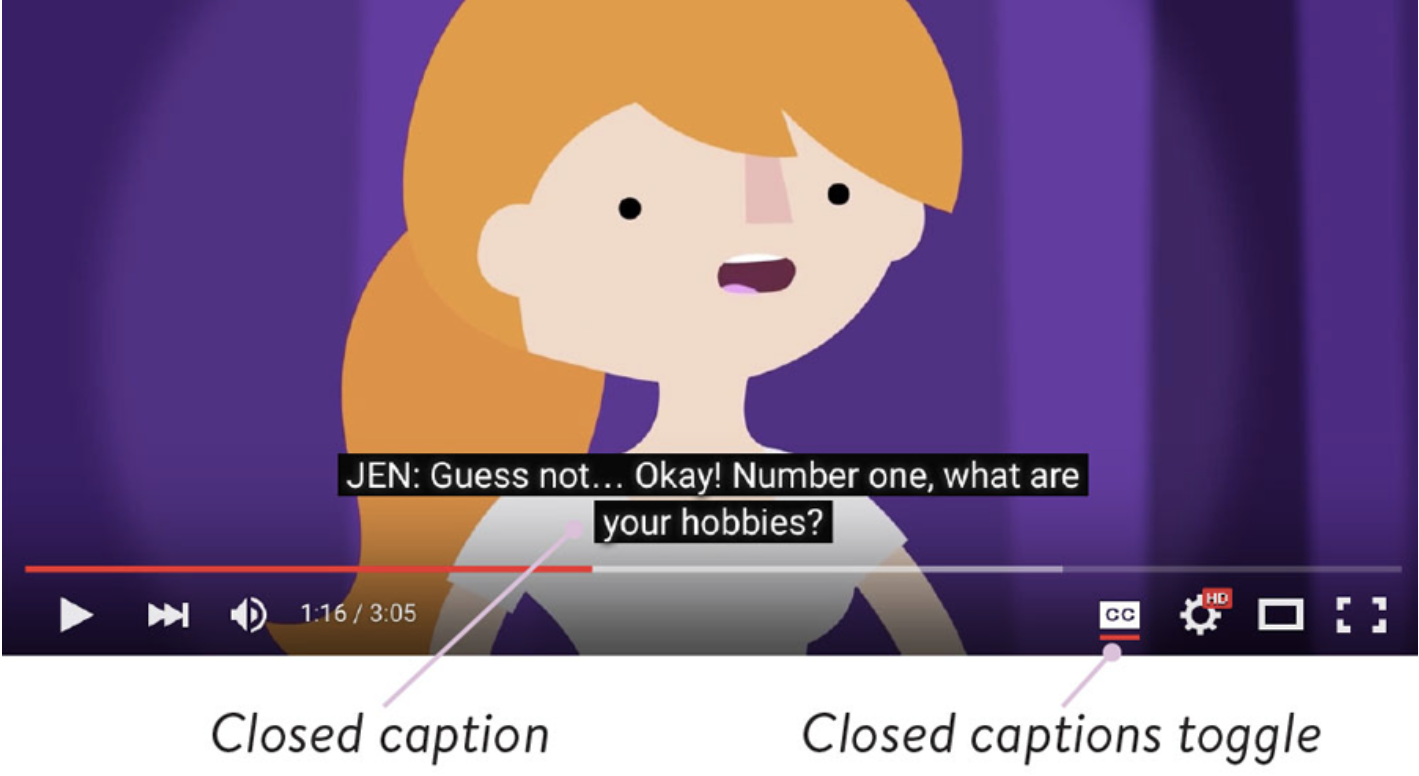
5. Subtitles for video/audio content
Subtitles can convey vital information and boosts engagement. They can be helpful for many people as they boost comprehension. They also provide clarity and allow for access in sound sensitive environments.
6. Use text rather than images
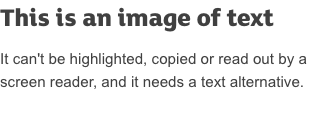
This will ensure people with disabilities can access your content with screen readers. If you place text into your files as an image people who use screen readers will not be able to read the text. So remember to copy and paste your text or use alternative text rather than uploading the text as an image file.
7. Use clear video on calls
It ensures that everyone can access the content. It offers flexibility for people to access it their way. It will enable people of all abilities to connect with and enjoy video experiences. Likewise, delegates are more likely to engage with the content and provide comprehension and information processing for all people of all different learning styles.


8. Use clear audio on calls
Audio is engaging, it delivers information that is not the screen and sets the mood for the session. It also helps determine what participants see and evokes in a way that visual content alone can’t. Audio creates an immersive experience and doesn’t eliminate the engagement from those who can’t engage visually all the time or some of the time due to working from home considerations of specific needs.
That’s it.
This article was originally written by AbilityNet for the Beyond programme in 2021. Contact AbilityNet if you want help with building inclusive practices.
Commissioned by Catalyst
